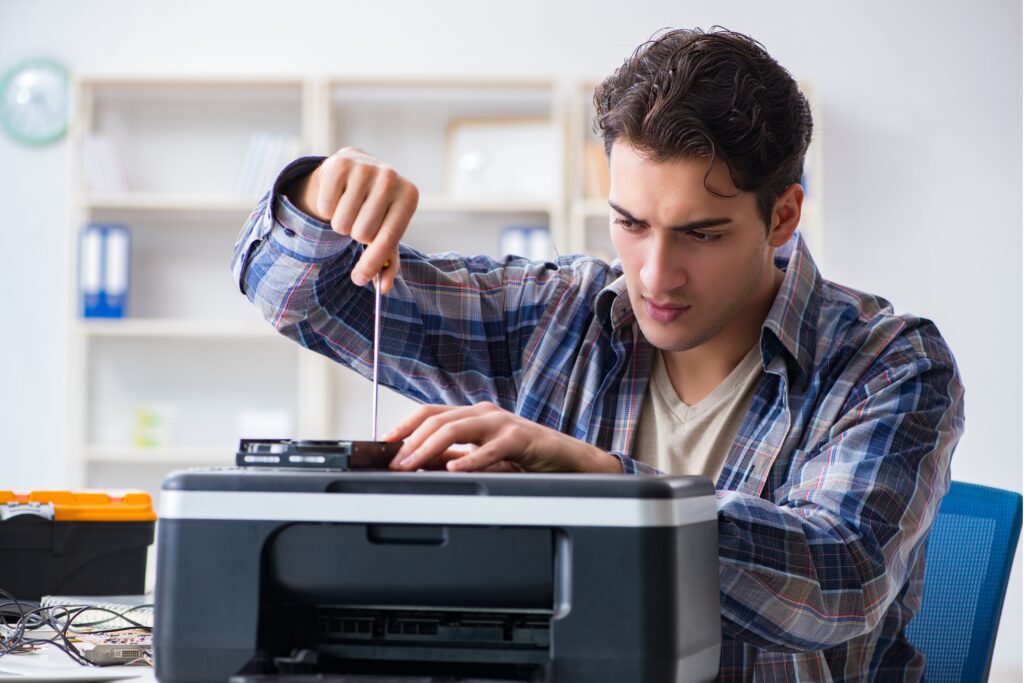
5 Essential Tips For Troubleshooting Common Printing Problems

Are you tired of dealing with printing issues every time you need to print an important document? Don’t worry, you’re not alone. Printing problems can be frustrating and time-consuming, but with the right troubleshooting techniques, you can easily overcome them.
Printing is an essential part of our daily lives, whether it’s for work or personal use. However, it’s not uncommon to encounter various printing problems such as paper jams, blurry prints, or connectivity issues. These problems can be caused by a number of factors, including hardware malfunctions, software glitches, or user errors.
If you find yourself constantly struggling with printing problems, it’s important to understand the common issues and how to troubleshoot them effectively. By following a few essential tips, you can save yourself from unnecessary frustration and get your printer up and running smoothly again. In this article, we will discuss five essential tips for troubleshooting common printing problems.
What You Need to Know Before Troubleshooting
Before diving into troubleshooting printer issues, it is essential to have a basic understanding of the common problems that printers can face and the frustration they can cause. By being aware of these key pieces of information, the writer will be able to approach the troubleshooting process more effectively.
Printers can be temperamental devices, prone to a range of issues that can disrupt their functionality. Some of the most common problems that users encounter include paper jams, slow printing speeds, poor print quality, connectivity issues, and error messages. These issues can not only prevent documents from being printed but can also lead to delays and productivity losses.
The frustration associated with printer problems can be overwhelming, especially when faced with looming deadlines or important documents that need to be printed immediately. Hours can be wasted on trying to figure out the cause of the issue or waiting for the printer to resolve it on its own. This can lead to increased stress levels and negatively impact work efficiency.
By understanding these common problems and the frustration they can cause, the writer will be prepared to tackle printer troubleshooting with a calm and methodical approach. It is important to approach each issue systematically, ruling out potential causes one by one until the problem is identified and resolved.
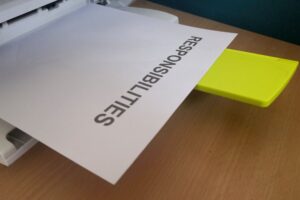
1. Check for Jammed Paper
To check for jammed paper in your printer, follow these steps:
1. Turn off the printer: Before inspecting for jammed paper, it is important to switch off the printer to ensure your safety and prevent any further damage.
2. Open the printer cover: Carefully open the printer cover or any access panels that provide access to the paper path. Refer to your printer’s user manual to locate the appropriate cover.
3. Examine the paper path: Inspect the entire paper path, including the input and output trays, as well as any rollers or feed mechanisms. Look for any visible pieces of paper that may have caused the jam.
4. Remove any visible paper: Gently remove any jammed paper, making sure to hold it firmly to prevent it from tearing. Be cautious not to touch the internal components of the printer to avoid causing damage.
5. Check for small or torn pieces: After removing the visible paper, carefully scrutinize the paper path for any small or torn pieces that may be left behind. These fragments can still cause further issues if not removed completely.
Checking for jammed paper in your printer is crucial to prevent further issues. When paper gets stuck in the printer, it can damage internal components like rollers, gears, or even the print head. Neglecting to clear a paper jam can result in paper misfeeds, distorted prints, or even more severe malfunctions.
By resolving any jammed paper quickly and thoroughly, you can maintain the smooth operation of your printer and prevent unnecessary maintenance or expensive repairs. Regularly checking for jammed paper can also extend the lifespan of your printer and ensure optimal performance.
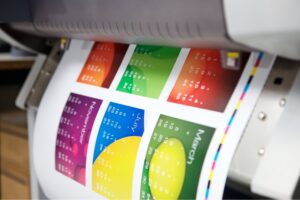
2. Check Ink or Toner Levels
To check the ink or toner levels in your printer, follow these simple steps:
1. Open the printer settings on your computer. This can usually be done by clicking on the printer icon in your system tray or by going to the Control Panel and selecting the Printers & Scanners option.
2. Once in the printer settings, locate the ink or toner level option. This can vary depending on the printer model, but it is usually found under a tab or option labeled “Maintenance,” “Supplies,” or “Status.”
3. Click on the ink or toner level option to access the current levels. Some printers may display the levels in a graphical format, while others may show a percentage or numerical value.
4. Inspect the ink or toner levels to determine if they are low or nearing empty. If the levels are low, it is likely that this is the cause of low print quality or fading prints.
5. If the ink or toner levels are low, it might be time to replace the cartridge. Look for instructions on how to replace the cartridge in your printer’s manual or consult the manufacturer’s website for guidance specific to your printer model.
Regularly checking the ink or toner levels in your printer is essential to maintain optimal print quality. By following these steps, you can easily determine if low levels are the cause of any printing issues and take prompt action to replace the cartridge if necessary.
3. Clean Printer Heads and Print Rollers
Explain how to clean printer heads and print rollers using the information from the background.
To properly maintain your printer and improve print quality, it is essential to clean the printer heads and print rollers regularly. Over time, these components can become clogged with ink and debris, resulting in smudged or faded prints. Follow these steps to effectively clean the printer heads and print rollers:
1. Start by turning off the printer and unplugging it from the power source. This will prevent any accidents or damage during the cleaning process.
2. Locate the printer heads, usually found inside the printer cartridge area. Gently remove the cartridges and set them aside.
3. Take a lint-free cloth or cotton swab and moisten it with distilled water or a specific printer cleaning solution, as recommended in the printer’s manual. Avoid using tap water, as it may contain minerals that can further clog the printer heads.
4. Carefully wipe the printer heads using the damp cloth or cotton swab. Make sure to remove any excess ink or debris by gently applying pressure. Be cautious not to damage or scratch the printer heads while cleaning.
5. Next, focus on the print rollers. These are usually located at the back of the printer or on the cartridge access area. Use the same damp cloth or cotton swab to clean them, ensuring the removal of any dirt or debris that may affect print quality.
6. Allow the printer heads and print rollers to air dry completely before reinserting the cartridges and powering on the printer.
By regularly performing these simple cleaning procedures, you can prevent clogged printheads, improve print quality, and extend the lifespan of your printer. Remember to consult your printer’s manual for any specific instructions or recommended cleaning products.
4. Update Software and Printer Drivers
To ensure optimal performance and compatibility, it is crucial to regularly update software and printer drivers. Updating software and printer drivers is an easy process that can be accomplished through the settings in both Windows 10 and Windows 11.
In Windows 10, navigate to the settings by clicking on the Start button, followed by the gear-shaped icon for Settings. In the settings menu, select ‘Update & Security.’ From there, click on ‘Windows Update’ and then ‘Check for updates.’ Windows will then search for the latest updates, including software and printer drivers, and prompt you to install them.
Similarly, in Windows 11, click on the Start button and then select the gear-shaped icon for Settings. In the settings menu, choose ‘Windows Update’ from the left-hand sidebar. Next, click on ‘Check for updates’ to initiate the search for updates, including software and printer drivers. Once the updates are found, follow the on-screen prompts to install them.
If the above methods do not find the appropriate printer drivers or if you require specialized drivers, it is recommended to visit the printer manufacturer’s website. On the website, locate the ‘Support’ or ‘Downloads’ section and search for your printer model. Download and install the latest driver available for your printer by following the instructions provided on the manufacturer’s website.
Regularly updating software and printer drivers is essential for a smooth and optimized computing experience. By navigating to the settings in Windows 10 and Windows 11 or visiting the printer manufacturer’s website, you can easily stay up-to-date with the latest updates and drivers for your devices.
5. Reboot the Printer
To address any technical glitches or connectivity issues, it is recommended to periodically reboot the printer. Rebooting the printer is a simple process that can effectively resolve several common problems. Follow these easy steps to successfully reboot your printer and ensure smooth operation.
1. Locate the power button or switch on your printer. It is usually located at the front or side panel.
2. Press the power button once to turn off the printer. Ensure that all ongoing print tasks are paused or canceled before proceeding.
3. Wait for approximately 10 to 15 seconds to allow the printer to completely power down. This brief pause will ensure that any residual electrical charge dissipates.
4. After the short wait, press the power button again to turn the printer back on. Wait for the printer to fully initialize. This may take a few minutes, depending on the model.
5. Once the printer display or indicator lights become stable or show signs of activity, it indicates that the printer has successfully rebooted.
6. Verify that the printer is connected to the network or computer through either a wired or wireless connection. This step is crucial to ensure successful communication and print functionality.
Regularly rebooting your printer can help clear temporary memory and resolve minor software issues, thereby improving its overall performance. By following these simple steps, you can ensure uninterrupted printing and a hassle-free experience.

Conclusion
In conclusion, troubleshooting common printing problems can be a difficult and time-consuming task. However, by following the five essential tips outlined in this article, you should be able to successfully diagnose and fix most printing issues. First, check your printer’s settings and make sure they are correct. Second, update your printer’s drivers to ensure that it is compatible with your computer’s operating system. Third, check if there are any paper jams and remove them. Fourth, check for errors in the printing process by printing a test page. Finally, if all else fails, contact your printer manufacturer’s customer service for more assistance. With these tips, you should be able to quickly and easily troubleshoot common printing problems.